New update: v3.0 - FINALLY!
After months and months of development, design and some beta testing, version 3.0 of Awesome Ultrasound Simulator is finally ready for release. As before, this will be a free update for current users, but due to the technology involved in the making of the app, iOS 11 is required which unfortunately excludes older devices.
The basics of the app will remain the same as before, some things have a new look, and some things are brand new. Let's go into detail.
New style
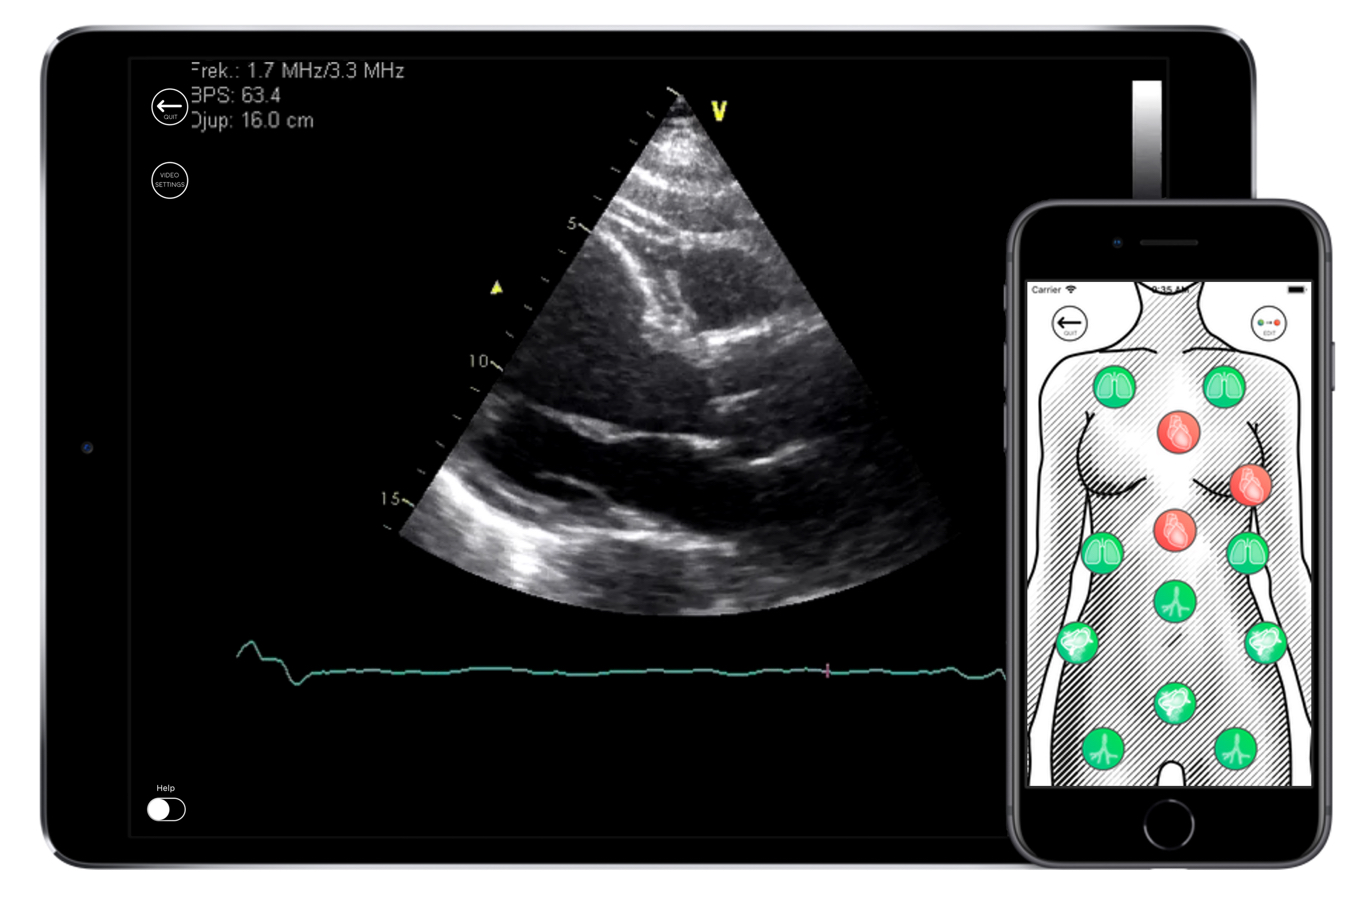
I wanted to make a refreshed design, this is how it turned out. Buttons and overall layout is very similar to earlier versions.
New editing
In earlier versions, changing pathologies for a case moved the user to a new screen with a long, scrollable screen with buttons and pathologies. This was OK, but made quick changes and discoverability a bit hard. In v3.0 the user stays on the remote control screen, but in an editing mode. The touching one of the highlighted organs displays what pathologies can be selected, which makes for a quicker and more discoverable experience.
When designing a case, the current setup of pathologies can be saved for later access by pressing the 'Save' button. Name your case with an appropriate description. Loading a predefined setup is as easy as pressing the 'Load' button and selecting the desired case from the list that appears.
Using this method, complex changes can be made within seconds, giving the operator of the remote time to focus on the ongoing simulation.
CPR Mode
CPR scenarios is the bread and butter of simulation training. Everyone does it, cardiac arrest is always an option when simulating. I have made the case that Awesome Ultrasound Simulator is a great way to simulate the use of ultrasound when confirming or excluding treatable reasons for the cardiac arrest, but ultrasound is also a great tool to assess the heart during the rhythm/pulse check.
Enter 'CPR mode', which gives the operator of the remote control quick access to four buttons associated to CPR: compressions, asystole, ventricular fibrillation and normal contractions. Pressing any button shows the corresponding clip from the subcostal/subxiphoid view as this is the natural place to look at the heart in this scenario.
Accessing the 'CPR Mode' on iPad is as easy as pressing the 'CPR Mode' button on the left on the screen, but on iPhone this button is absent due to constrained space. Using the iPhone, a gentle shake will instead bring up a dialoge that asks the user if she/he would like to enter 'CPR Mode' and confirming brings up the panel.
Use this feature in your training!
Add your own clips
Can I add my own clips to display instead of the standard clips provided by the app as default? Yes, now you can. This is a 'Pro' feature, not necessarily for everyone, but it makes for some interesting modifications. It is worth noting that the changes are made on the device that acts as monitor, and that importing a clip makes it possible to alter what's being showed when that specific pathology is called for by the remote.
Some preparation may be necessary to get everything to work properly. AUS only accepts files encoded in MPEG-4, usually .mp4 files.
Export your clips, what file format they come off the machine may vary. Make sure that patient data is removed, some machines do this, if present after export -use Clip Deidentifier to crop your file. If the file is not encoded in MPEG-4, use Handbrake video encoder or your encoder of choice to 1) make sure that the file is in the right format 2) compress it to an adequate file size. Anything over 576p is usually overkill, 480p is fine. Make sure that any sound is muted! A 2-3 second clips should be around 500k-1mb in size. Save the file where you can access it from the device you wish to save it to (iCloud, Dropbox, etc). Name your files appropriately, organize them!
Access the video clip library by pressing 'Video Settings' when in Monitor mode. Navigate your way to the pathology clip you would like to add a clip to. Press the '+' button and a file picker will appear. What services that are available depends on what you have installed on your device. iCloud are installed on every iOS device but requires a macOS computer. Dropbox, Google drive and such requires installation on both the iOS device and your computer to work. Select the clip that you would like to add, only .mp4 files can be selected.
After being added, selecting the clip instead of the 'Standard' clip in the list, makes it appear when called for.
If several clips are installed for use in different cases, specific setups can be saved to make management easier. E.g. 4 different clips of positive FAST exams are added to both LUQ, RUQ and pelvic views, and setups are saved as trauma1, trauma2, trauma3, trauma4, where all clips are standard except the added FAST exams. Load setups by pressing the 'Load' button and select a specific setup, or select 'All standard' to reset to just using standard clips.
This feature will make everyone able to alter the experience and modify the app to suit their needs. I cannot wait to see what you'll make with this.
New 'Pathology': Pregnancy
As the headline suggests, pregnancy is now an option when selecting pelvic pictures. As with other pathologies in the midline view, these images are available in longitudinal and transverse, and as always; switching between views are done with a touch of the monitor screen.
Instructions and F.A.Q.
Instructions & F.A.Q. section is accessed from the startup screen. Links to programs, instructions for use and illustrations are all placed here.
That's all, hope that you'll enjoy the new experience. Tell your friends or place a review on the AppStore to help spread the word about ultrasound simulation!
Happy simulations, y'all!


